yamiinsane123: (Marvel Cinematic Universe)
Here is the other tutorial that [livejournal.com profile] bandcat had asked for. (sorry it's a little late but I didn't feel too good last night when I intended to make this tutorial.)  This is what we will be making:


Read more... )
yamiinsane123: (Misc Movies 1)
Here is the first of two tutorials that [livejournal.com profile] bandcat (also on Gateworld) requested.

Today, I'm going to attempt to show you how I made this:


Tutorial:
Read more... )

Good luck and Enjoy, and know that if you need help, all you have to do is ask! :)
yamiinsane123: (Default)
Here is the tutorial that Josi @Gateworld Forum requested.

Here is how I made this in PS CS5 (does contain a Selective Color Adjustment and Topaz Clean):


NOTE: I do jump around on this so apologies if there is any confusion. Please let me know if you need help with anything


Tutorial Follows... )
yamiinsane123: (Default)
Here is the tut that JW requested.  Here is how to make my Zed Martin signature in PS CS5 Extended.


Textures/Stock required (If you know how made any of these please let me know so I can credit properly):
TEXTURES/STOCK )BASE/TEXT )

COLORING )

FINAL TOUCHES )
yamiinsane123: (Default)
Here is the second tut that JW requested.

Textures needed:
NOTE: All but 1 are by unknown makers.  If you know who made any of them, please let me know so that I may credit them.

(A)(B by lg)
(C)(D)
(E)(F)
(G)(H)
(I)

BASE

1) Create a new document, I chose 1920x1080 for mine.  Fill with Black.

2) Gradient Fill Layer: #2c5a57 to #c1dfe7.  Style: Radial.  Angle: 130.24 degrees.  Scale: 150%.  Reverse checkmarked.  Move gradient downward till the center is close to the bottom.  Opacity: 25%.

3) Open A and paste onto your canvas.  Resize to your liking.  Desaturate and lower the opacity to 45%.

4) Open B by lg and paste onto your canvas.  Resize to your liking.  I didn't like how bright the white "boxes" were so I used a layer mask and with a lower opacity brush, erased some of it.  Set to Lighten, 100%.

5) Add the main picture of your character.  Cut out and leave as is.

6) Add C, resize and set to Screen, 40%.  Erase if you don't like certain parts.

7) Add D on the right hand side of your character and Invert.  Erase what you don't like.  In the end most of this texture was hidden but I just wanted to have the circle for the next picture of Skye.

8) Add the next picture of your character, resize and place in the center of the circle. Make sure you can erase everything that is outside the circle.  Don't be too accurate, I liked the little messiness from erasing the edges.  Set to Luminosity, 100%.  If you have to, create a layer underneath texture D and, using a soft brush and black, brush away any color that you don't like that is showing through your second picture.

9) Add E to the left of your main character pic.  Set to Multiply, 100%.  Erase what you don't like.

10) Add the last picture of your character.  Resize to be smaller than the last.  With the picture of Skye that I had, I flipped it horizontally then cut out the picture.  Since it looked like she was now leaning against the main pic, I created a layer underneath this one and with a soft brush and black, I add a little bit of a shadow.  I then lowered the opacity to 56%.

11) Add F and place over the smallest pic your character.  Set to Screen, 100%.  Erase what you don't like.

12) Add G and place over the lights.  Set to Lighten, 100%.  Erase what you don't like.

13) Add H and place on the right side of the second pic.  Set to Multiply, 100%.  Erase what you don't like.

14) Add I and resize to the size of your canvas.  Set to Soft Light, 100%.

COLORING

15)  Curves: Increase Contrast (RGB)

16)Gradient Map: #172b2c to #d9c856.  Set to Soft Light, 100%.

17) Gradient Fill: Gradient Called Copper: #97461a (Location: 0) to #fbd8c5 (Location: 30) to #6c2e16 (Location: 83) to #efdbcd (Location: 100.)  Style: Reflected.  Angle: 108.43 degrees.  Scale: 150%.  Set to Overlay, 100%.  Using the layer mask that comes with the layer, erase what you don't like.

18) Photo Filter: Cooling Filter (LBB) set to Normal, 100%.

TEXT

19) Skye: Ballpark, 100 pt.  #745446.  Set to Screen, 100%.  Blending Options: Drop Shadow: All Default options.

20) The other texts: AvantGarde bk BT, 24 pt.  Set to Soft Light, 100%.  Blending Options: Drop Shadow: All Default options.

21) Add your watermark, if you do, and you are ready for the final touches.

FINAL TOUCHES

22) Create a stamp and use Topaz Clean, default options with Crispstyle, lower the opacity to 50%.

23) Create another stamp and this time use Sharpen.  Also lower the opacity to 50%.

24) Create another stamp of your work and you are finished!

Final Product:

yamiinsane123: (Default)
Here is the tutorial for my Agents of SHIELD wallpaper as requested by JadedWraith.

Textures/Coloring you'll be needing:

Texture 3 from KrypteriaHG's Set 7 - Pandora's Box

Texture from Unknown maker, snagged from a tutorial on Shadowplay (I think.)

Texture 5 from Resurgere's Cosmos Set 2

Texture 3 from Resurgere's Cosmos Set 5

Wood Pattern 3 from WebTreatsETC

Coloring from KrypteriaHG's Texture Set 2

Autumn Vintage Action from Lieveheersbeestje's 69 Photoshop Actions V9

BASE:

1) Open a document, I chose 1920x1080 for mine.  I filled it with black but it's not necessary.

2) Take the texture from KrypteriaHG's set and resize it to fit your canvas.  I think I used Topaz Clean on this layer, but I don't remember.

3) Take your image and place it as close to center as you can.  Erase what you don't like, i.e. edges and such.  Lower the opacity to 79%.

4) Take the texture from the unknown maker and place it on your canvas.  Resize to your liking and set it to Overlay, 100%.

5) Take the first texture from Resurgere and place it on the top right of your canvas.  Set to Lighten, 100%.  With a layer mask and varying brush opacities, erase what you don't like.

6) Take the other texture from Resurgere and place it on the left side of your canvas.  Set to Lighten, 100%.  Erase what you don't like.  Then duplicate it and move it to the bottom right of your canvas, erase what you don't like.

TEXT:

7) I just used the text from the Agents of SHIELD promotional image to make mine, so I'll leave it up to you as to what font, size, and such you wish.  But these are the settings that I used with Blending Options:
    Fill Opacity: 43%
    Drop Shadow: Change only: Spread 18%, and Size 18 px.
    Bevel and Emboss/Contour: Change only: Style: Pillow Emboss.
    Color Overlay: #0d1226 set to Soft Light.
    Pattern Overlay: Wood Pattern 3 from WebTreatsETC.  Set to 72%.

COLORING:

8) Add KrypteriaHG's coloring from set 2.  Change to opacity to 53%.

9) Add the actions and make a stamp of your work.  Find the Autumn Vintage action and press play.  Leave as is when it's finished.

10) Exposure Adjustment:  Exposure: -0.43, Offset: +0.0157, Gamma Correction: 0.87.

FINAL TOUCHES:

11) Make a stamp and use whatever filters you use to finish your art.  I used Topaz Clean, and Sharpen.

12) I then added a signature and I was finished.

Finished Wallpaper:
yamiinsane123: (Default)
How to make my Sherlock Holmes (Sherlock) wallpaper in Photoshop CS5.  Translateable except for the Difference/Exclusion blending modes.  If anyone wants to help with those translations, feel free to do so.
 photo sherlock-543-yami.jpg: Finished Product.
Tutorial Under Cut... )
-Credits: If anyone knows the unknown textures, please let me know so that I may credit them.  BaB_Jane, Methys_Stock, Wanderingsoul_Stox, Kuschelirmel_Stock
-Please do not post on any other sites! Thanks.
-If you use my tutorial, please let me know as I would love to see your finalized art!
-If you have any questions, do not hesitate to ask.
-And last but Never least: Enjoy! :D
yamiinsane123: (Default)

Here is one of the tutorials that Ikorni (Gateworld forum) requested.

Here is how I made my Stana sig.
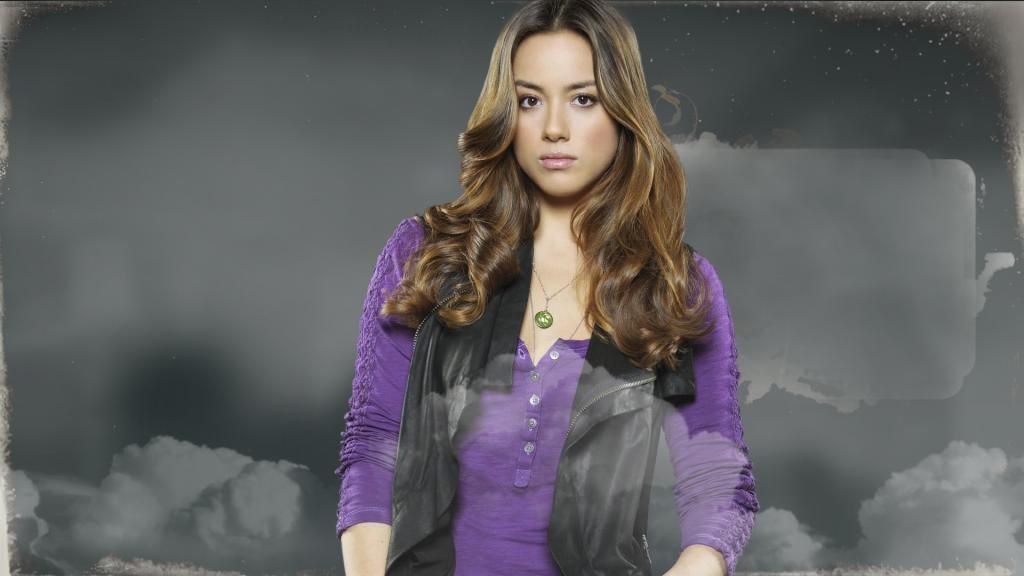
BASE
1) Open a document to whatever signature size you prefer, I chose 500x180.  Fill with white.

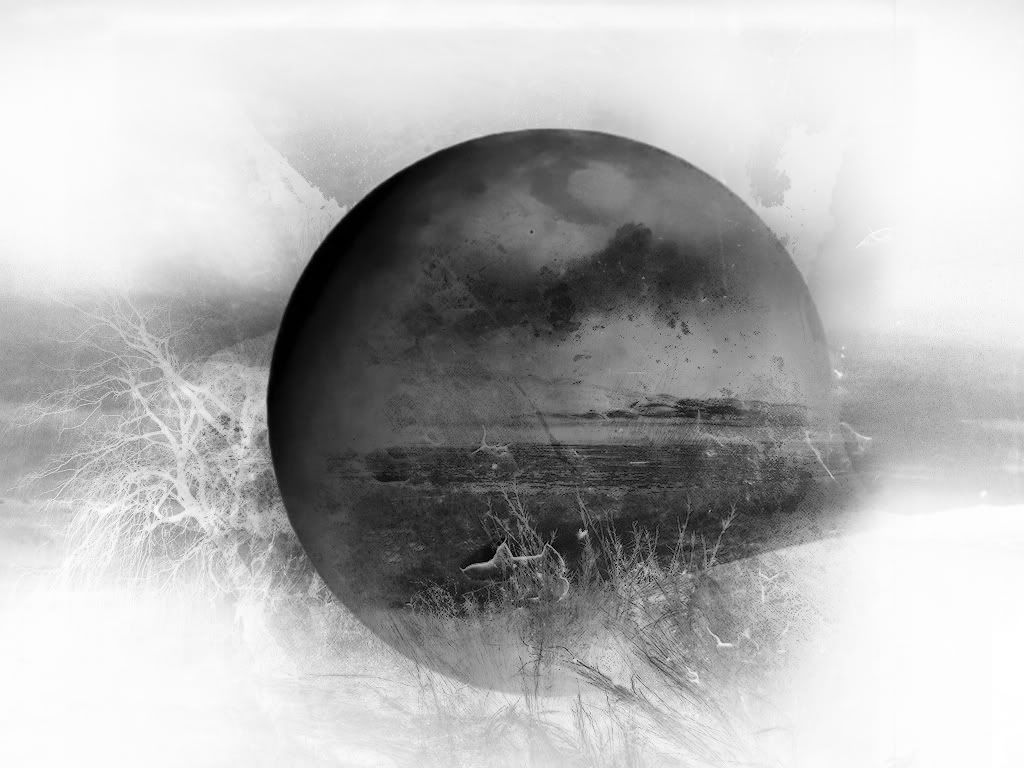
2) Open and paste into the document this clock stock.  Try to put the clock just off center and to the right, do not worry about leaving the edge visible. It will be covered up in the following steps.  Normal, 100%.
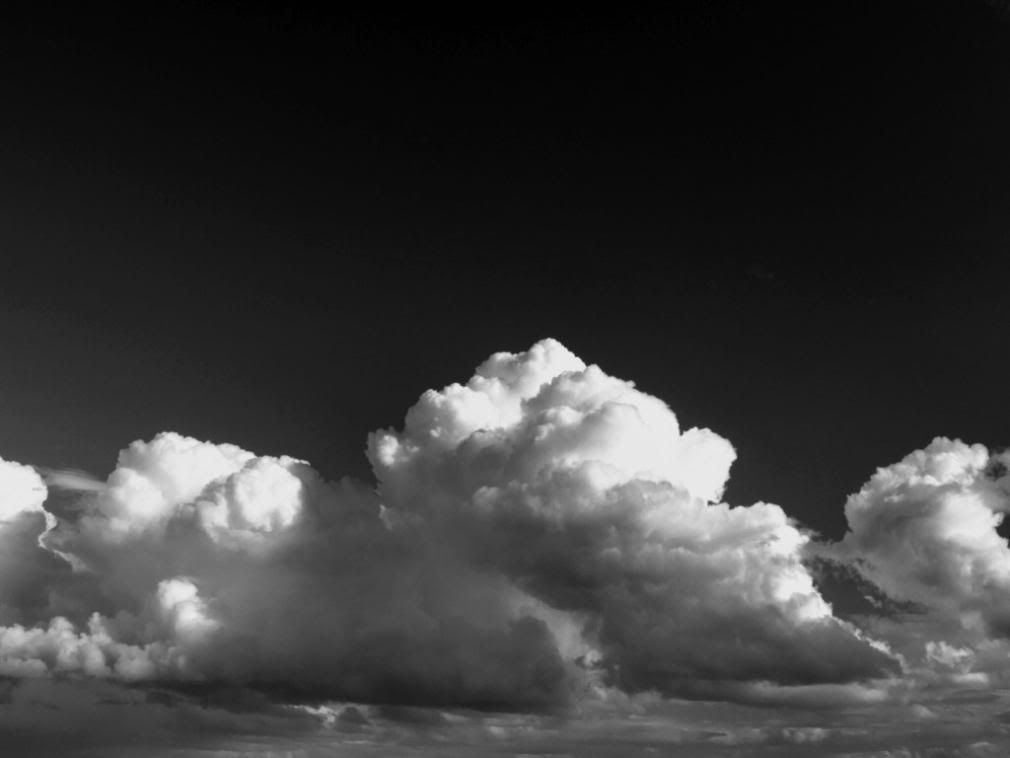
3) Open and paste this stock into the document.  Set to the left of the clock and, with a layer mask, blend into the clock. Normal, 100%.

4) Open and paste this bridge stock into the document.  Set to the right and bottom of the clock and, with a layer mask, blend into the clock and erase the other edge if it's visible.  Normal, 100%.
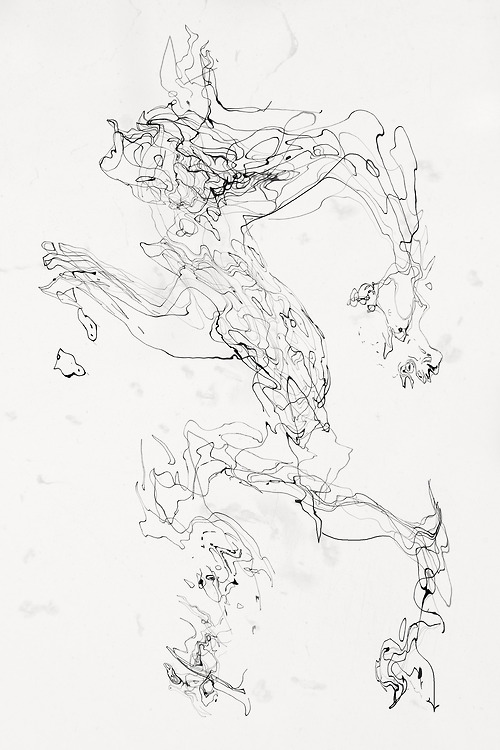
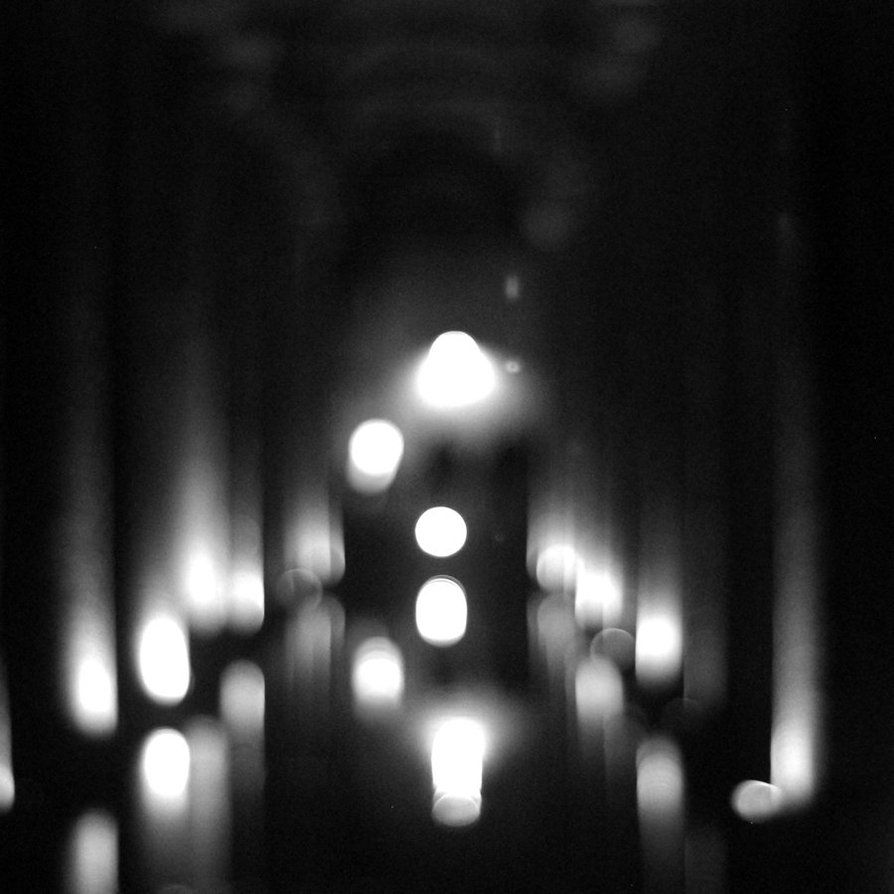
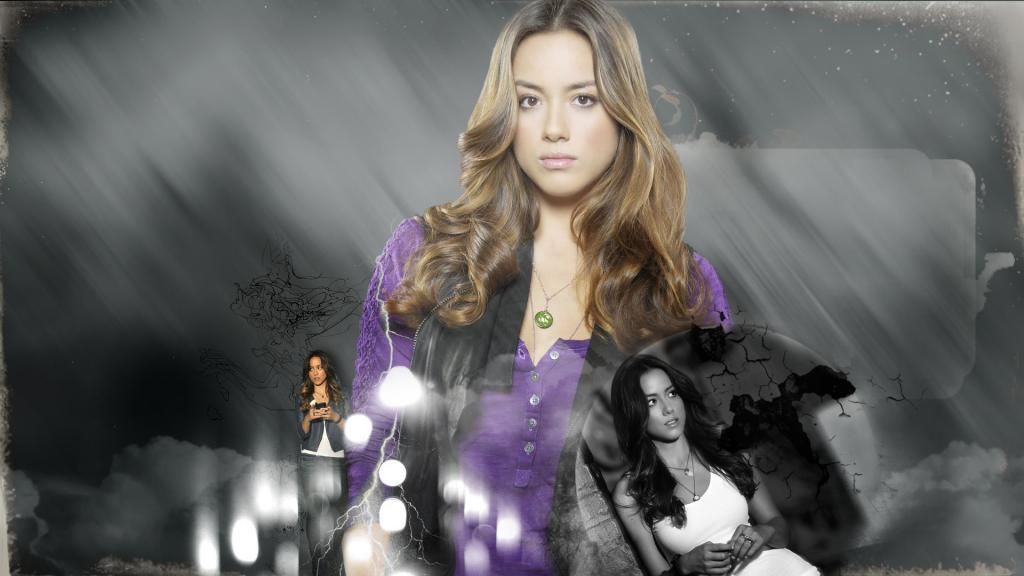
5) Take this window and paste it into the document.  Set to Multiply, 100%.
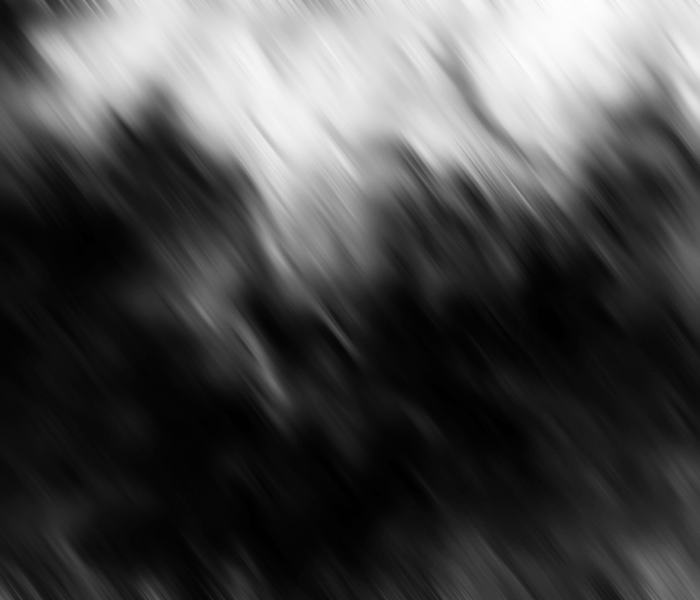
6) Add this fire stock and set it to Normal, 100%.  Erase the edges and set to the bottom center of the canvas.  Make sure you erase this with a layer mask so you can go back and add more of this stock or less.

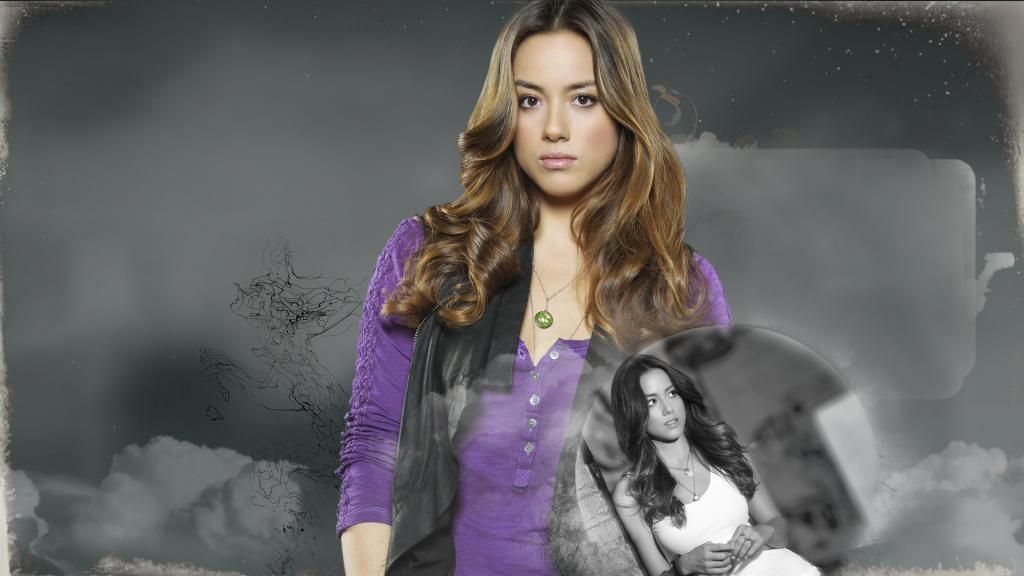
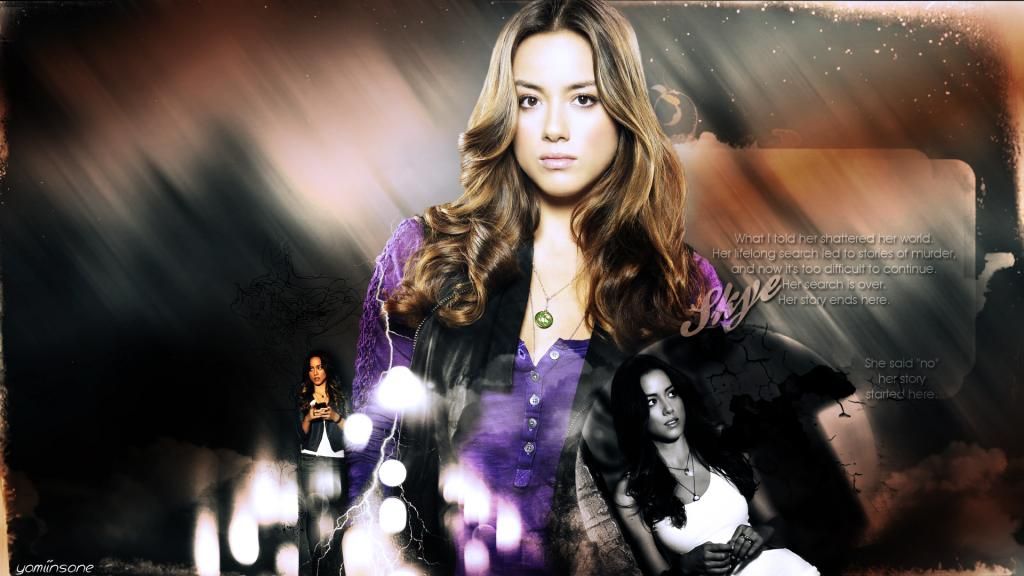
7) Add your first picture of your character.  Resize to as small as you like and place off center.  Cut your character completely out of the background.

8) Add another picture of your character.  Resize if need be and place just to the left of the smaller picture.  Cut her/him completely out of the background.

9) Make a copy of the second stock and bring to the front.  Move to where the fog is just under where your main character picture is and erase whatever you don't like.
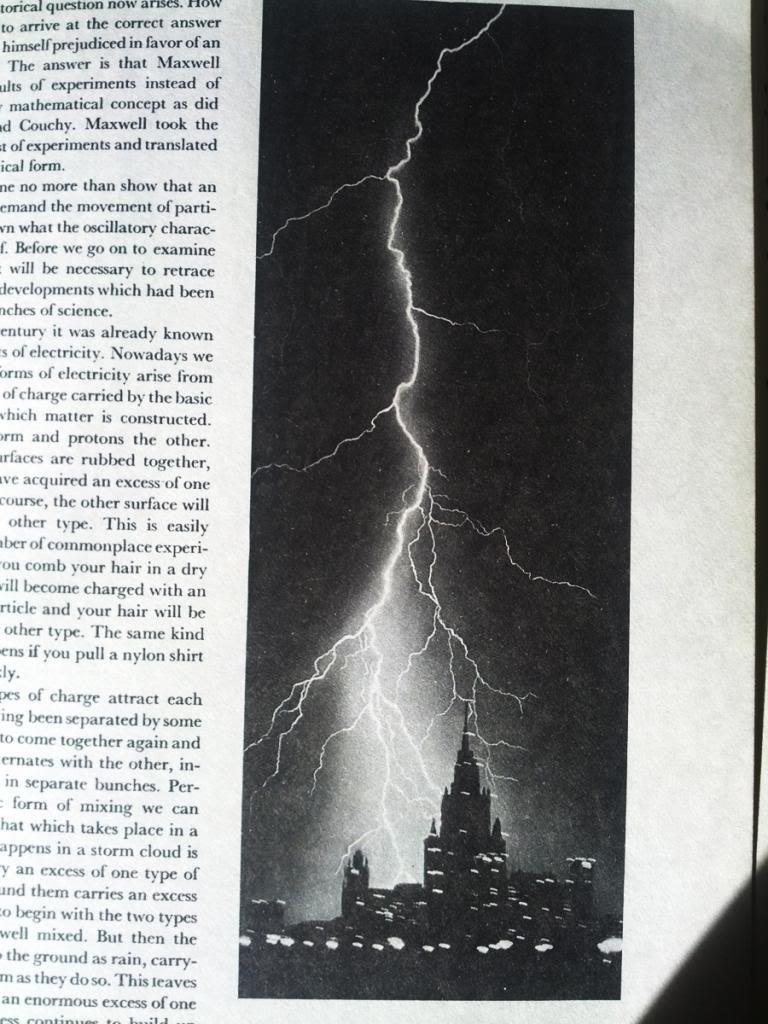
10) Take 
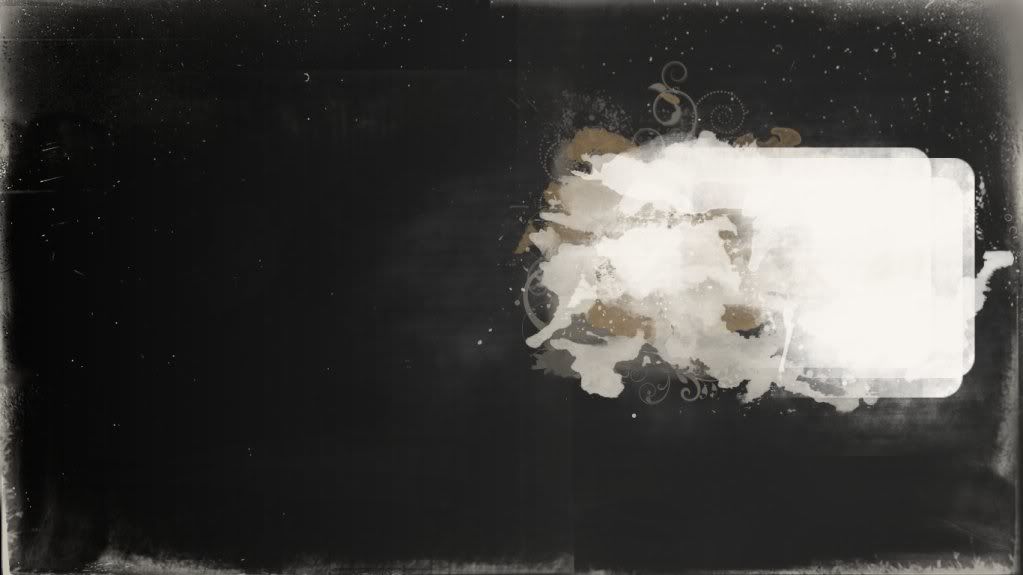
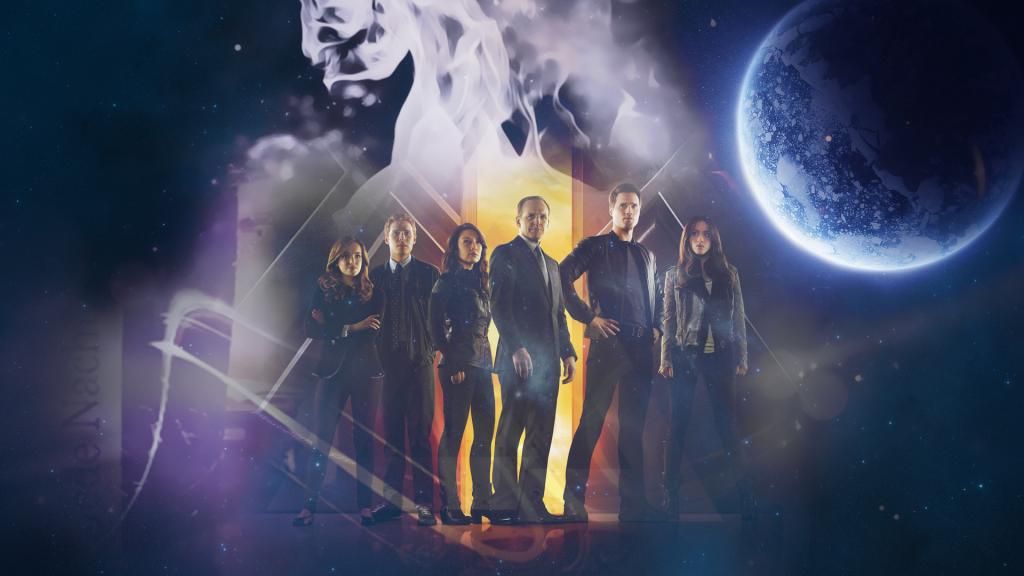
this texture and add it to the left side of the canvas.  Set this to Lighten, 100%.  Duplicate the layer and set this one to Screen, 100%.  Erase whatever you don't like but make sure the words are still visible.
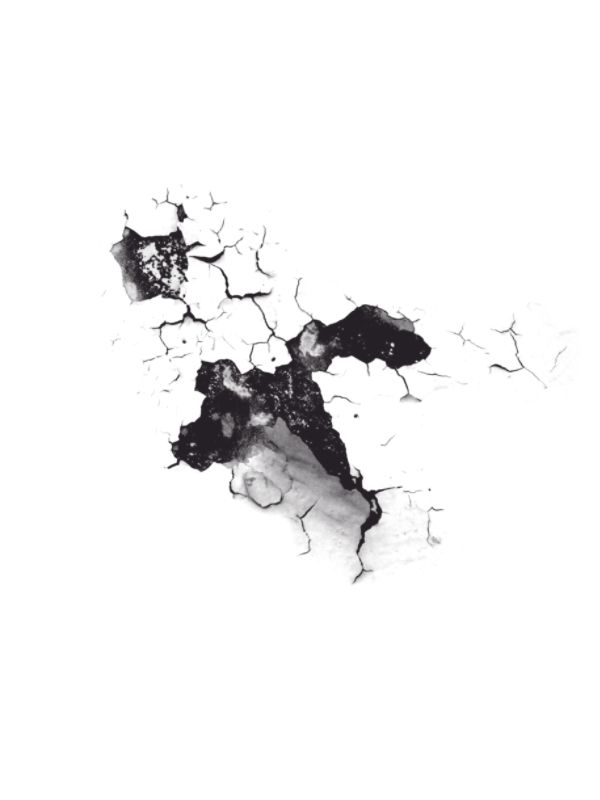
11) Take 
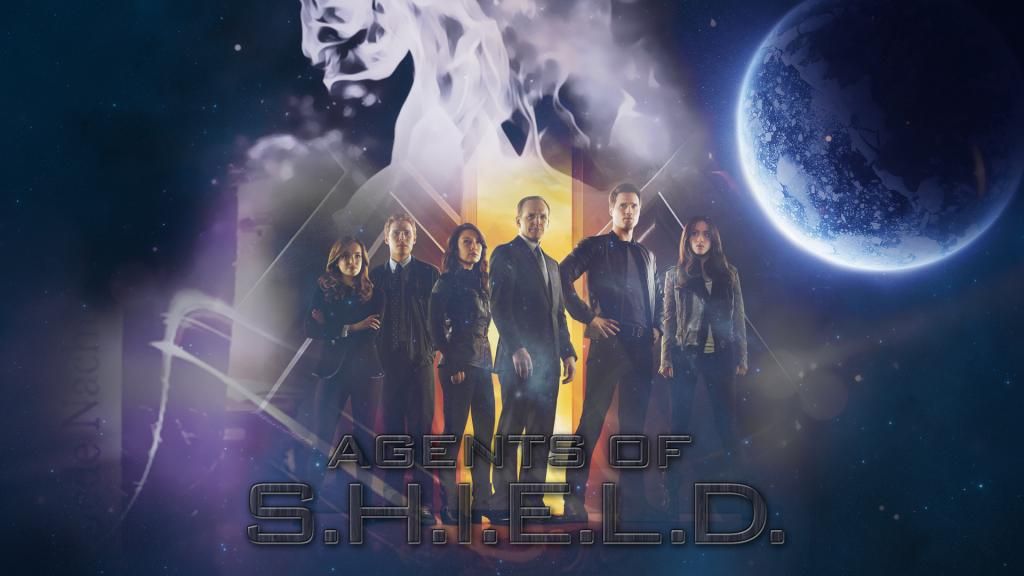
this texture and add it to the canvas.  Resize to about the size of your canvas and set to Soft Light, 100%.  If you need to, use the smudge brush to clean up the texture on top of your characters pictures.  Create a stamp of your current work, you will need this later.
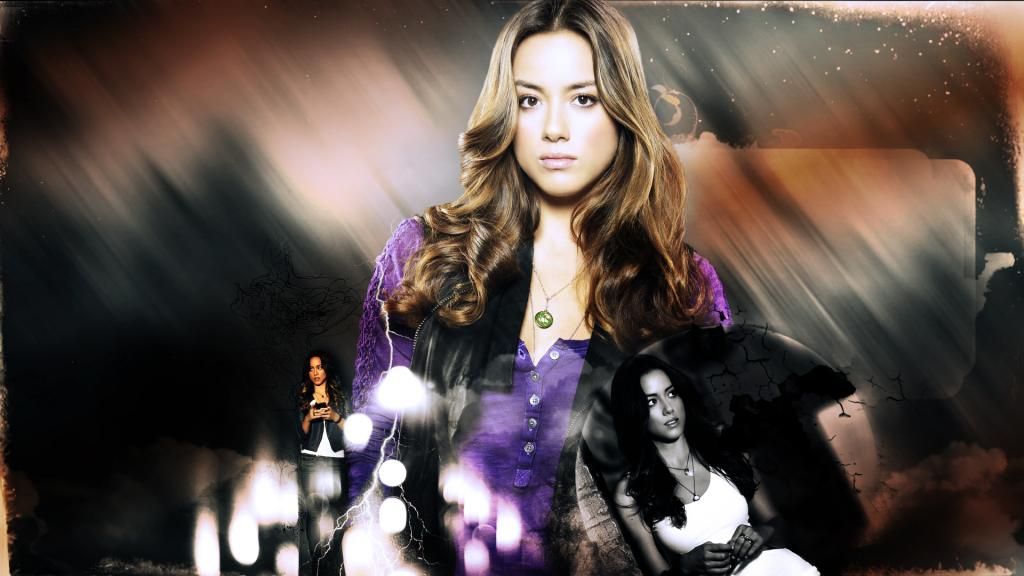
COLORING
12) Curves: Increase Contrast (RGB)

13) Hue/Saturation: Colorize checked.  Hue: 202, Saturation: 9, Lightness: +13.

14) Photo filter: Default with Warming Filter (LBA)

15) Selective Color:
-Whites: 83, 29, 0, -49
-Neutrals: 9, -6, -12, 16
-Blacks: 13, -4, 9, -11

16) Color Fill #1: #051f25.  Set to Exclusion, 100%.

17) Color FIll #2: #290d2b. Set to Exclusion, 76%.

18) Take the stamp you created in step 11 and bring to the front.  Set to Normal, 25%.

19) Curves: Point 1: Output: 140, Input: 158.

20) Gradient Map: Washed away art Gradients #2: Gradient #12.  If you can't use Photoshop gradients: #ebecc2 to #402b0e. Set to Overlay, 50%.

21) Duplicate the stamp from steps 11 and 18.  Bring to front, set to Overlay, 14%

FINISHING TOUCHES
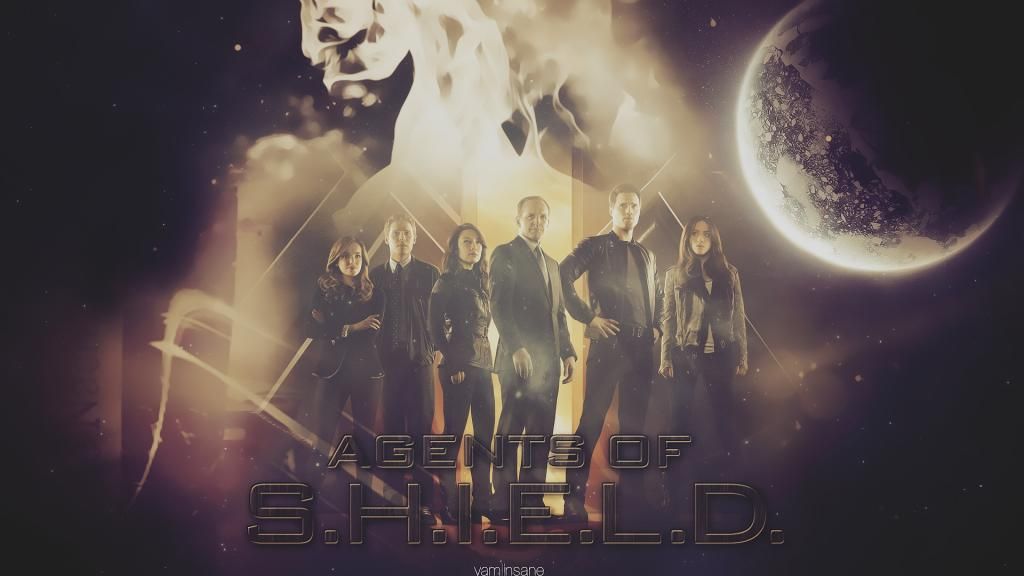
22) Create a stamp.  Use Topaz Clean, Crispstyle.  Set layer to Normal, 60%. NOTE: If you do not have Topaz Clean, don't worry.  Just use whatever filters you use to finalize your art.

23) Create another stamp.  Use Paint Daubs: 1, 1.  Set layer to Normal, 40%.

24) Create one last stamp. Blending Options: Stroke: Default, size: 2.

25) Watermark your work, if you do, and you are finished.


Let me know if you have any questions.
yamiinsane123: (Default)
How to make this in Photoshop CS5:


Note: This has Selective Coloring, Bevel and Emboss (Gimpers: you can find here if you haven't found it already but I don't know how different it will be,) and a Pixel Bender Filter.

Tutorial UTC... )
Credits: Google, Sathirien (DA), Ainhel (DA), Sunny and Aditsa (Shadowplay)
yamiinsane123: (Default)
How to make this wallpaper:

Photobucket

In Photoshop CS5.

Tutorial UTC... )

Not credited in tutorial: Deviantart: MysticMorning, and Thy Darkest Hour, and Shadowplay: Aditsa (Taken off the last time I was in the stock area) Screencaps: Me.

Profile

yamiinsane123: (Default)
yamiinsane123

April 2017

S M T W T F S
      1
234567 8
9101112131415
16171819202122
23242526272829
30      

Syndicate

RSS Atom

Style Credit

Expand Cut Tags

No cut tags
Page generated Sep. 12th, 2025 09:05 am
Powered by Dreamwidth Studios